本文详细描述如何在Linux(本人ubuntu开发环境)下使用hexo在github上搭建属于自己的博客
搭建分为两步:
- 使用Hexo 搭建本地blog
- 在github建立x.github.com 项目,并将本地hexo推送到github上
基础环境
- 安装git
$ sudo apt-get install git
- 下载Node.js
- 解压
- 配置环境
- 查看node是否安装成功
$ tar -zxvf node-v5.1.0-linux-x64.tar.gz
$ vim .bashrc
# node
export NODE_HOME=/home/saboloh/developer/node-v5.1.0-linux-x64
export PATH=$NODE_HOME/bin:$PATH
$ source .bashrc
$ npm config set unsafe-perm true
$ node -v|npm -v  查看一下版本即可
- 安装hexo
$ npm install hexo-cli -g
$ npm install hexo-server -g
开始blog之旅
- 初始化
$ mkdir blog
$ cd blog
$ hexo init
- 安装依赖包
$ npm install
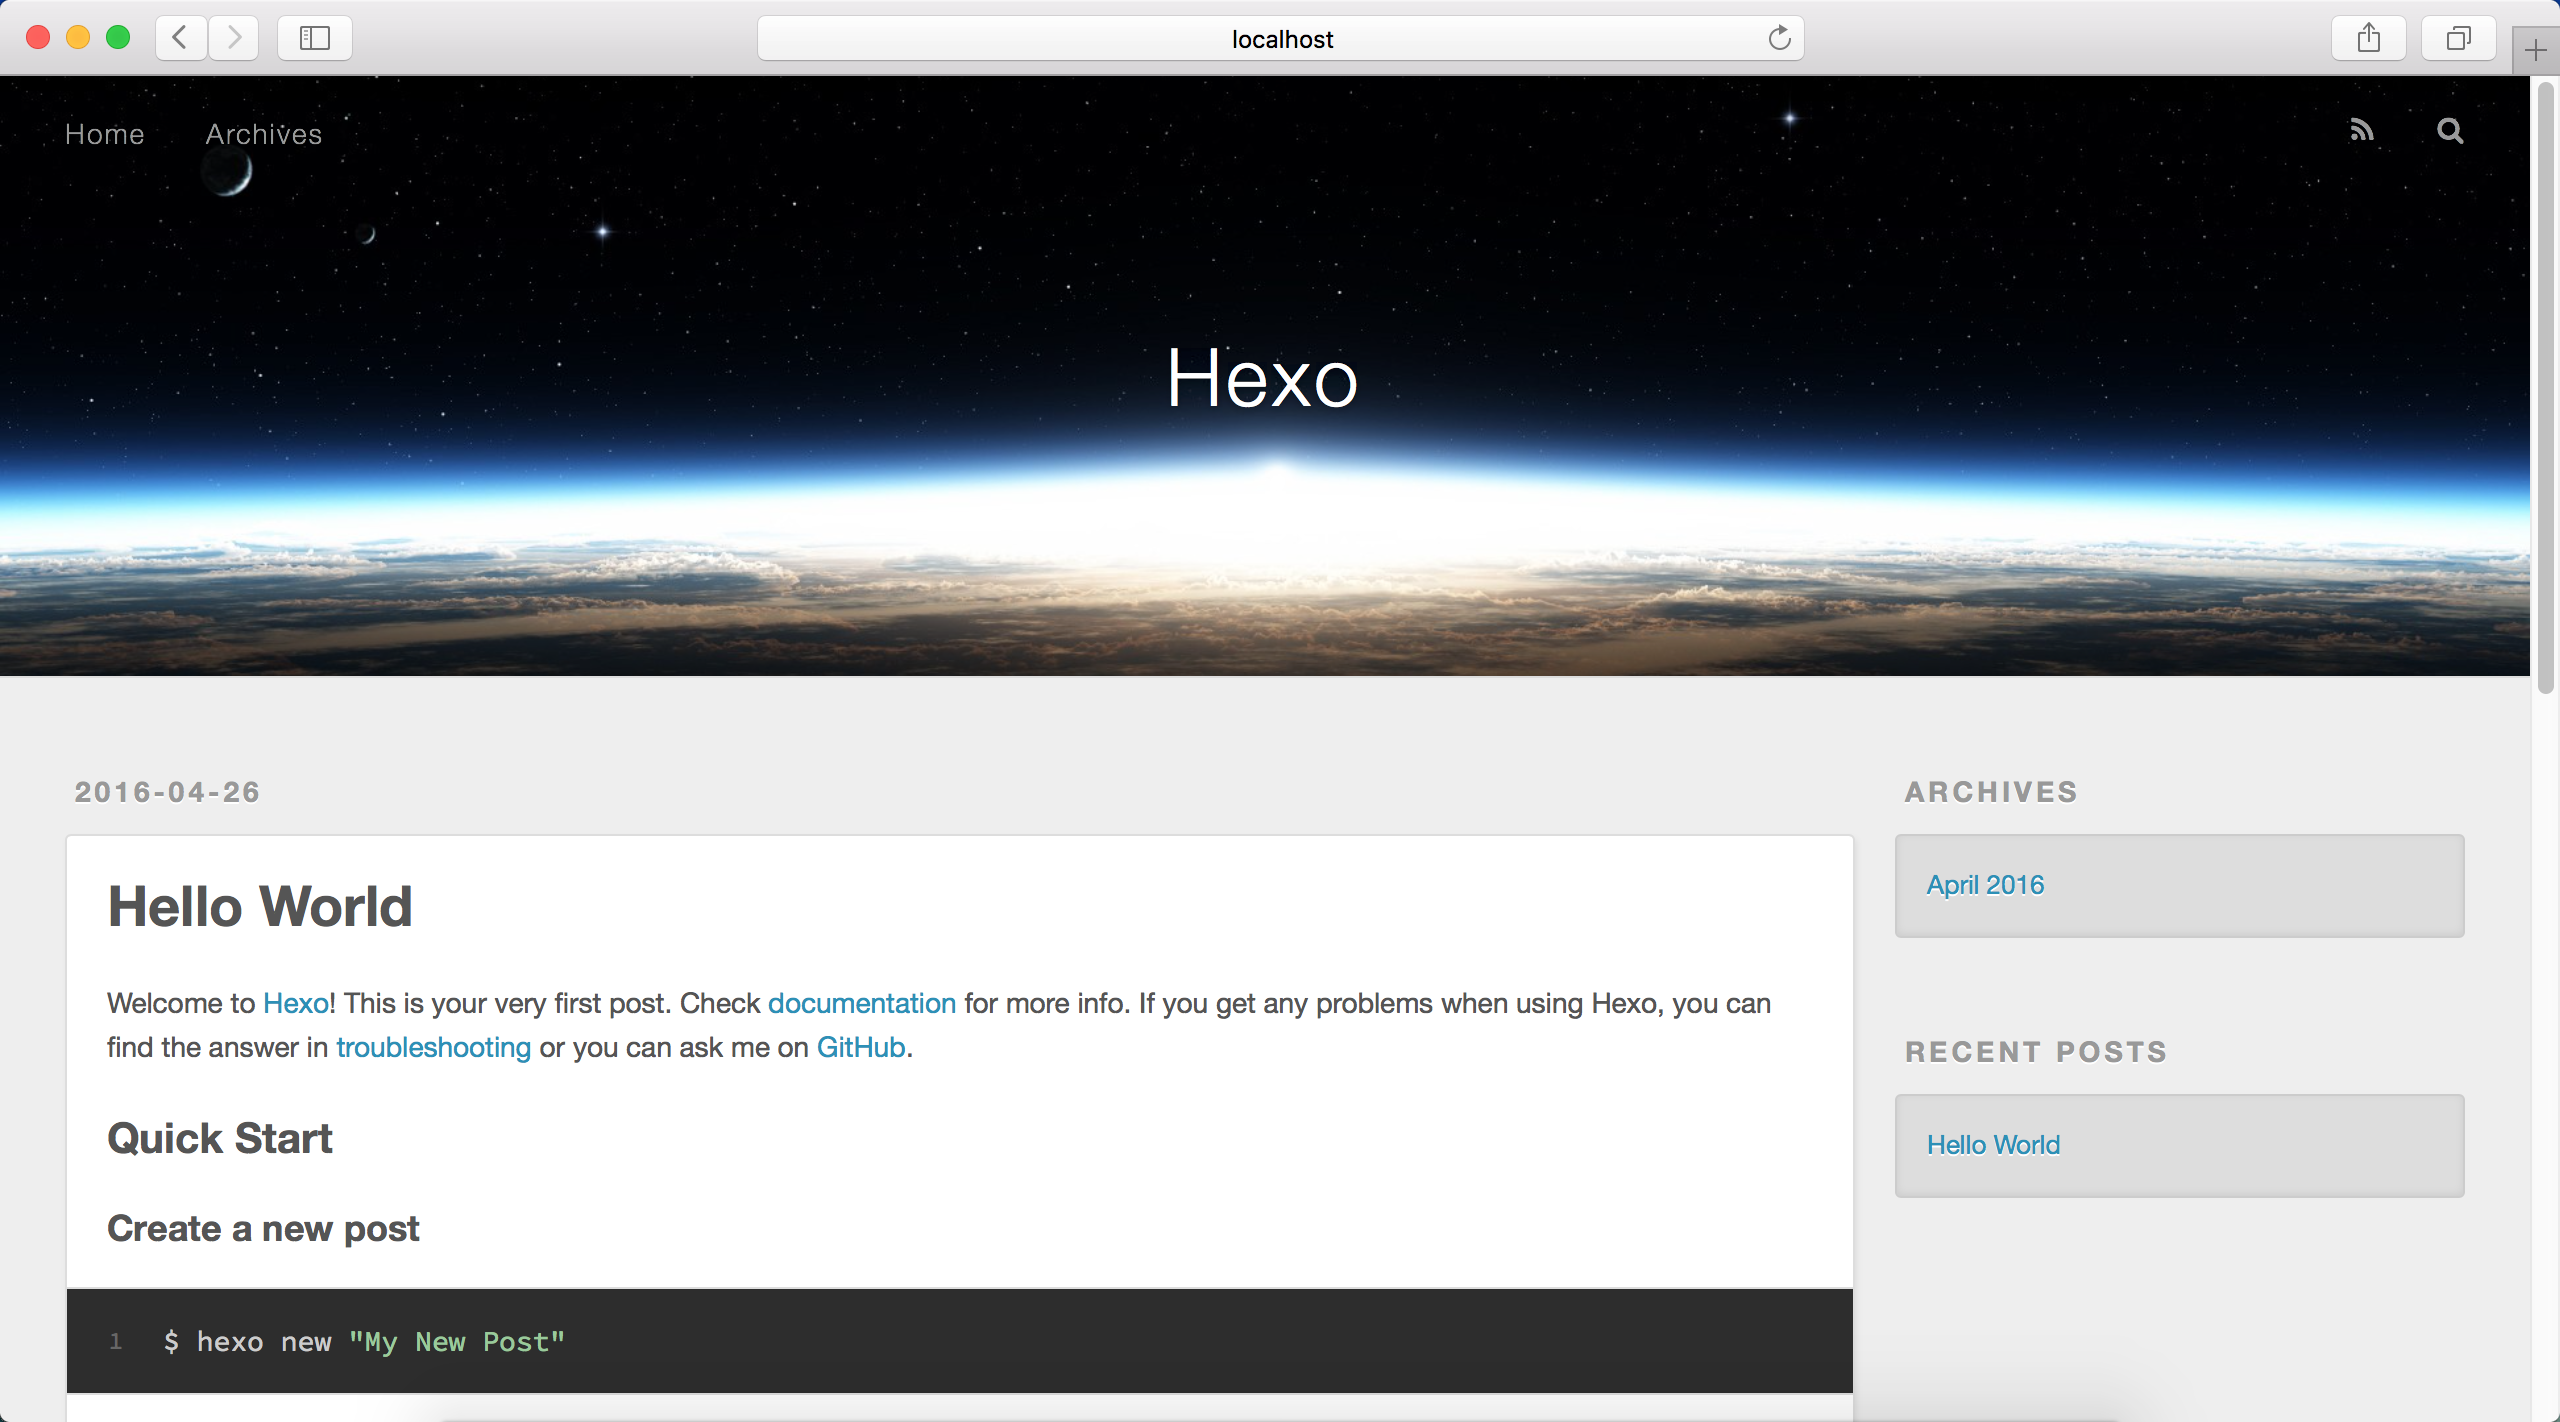
- 启动本地服务查看
$ hexo s -g
访问http://localhost:4000/ 如果看到如下,那么恭喜你第一步已经完成
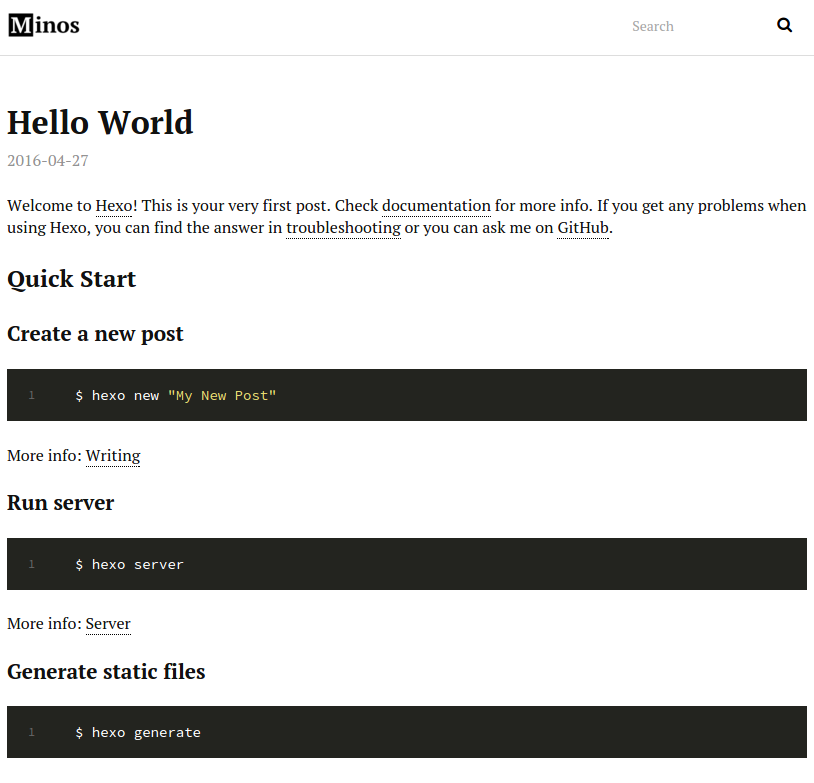
- 选择主题
以主题Minos为例
$ cd blog
$ git clone https://github.com/ppoffice/hexo-theme-minos.git themes/minos
修改_config.yml,指定主题
# Extensions
## Plugins: https://hexo.io/plugins/
## Themes: https://hexo.io/themes/
theme: minos
启动hexo s -g并访问效果如下:
接下来需要配置blog的一些信息以及页面,其中包括home/Archives/Categories/Tags/About
修改或添加相关信息至_config.yml
# Site
title: Loh's Blog
subtitle: Loh's Blog
description: Loh's Blog
author: Loh
language: zh-CN
timezone: Asia/Shanghai

# Header
menu:
  Home: /
  Archives: archives
  Categories: categories
  Tags: tags
  About: about
Header效果如下:
页面的部分地方可以自己修改主题里面的代码,调整至自己想要的
接下来需要开始写博文和创建页面了
$ hexo n "我的第一篇博文"
$ hexo n page "About"    //创建页面
在github上创建一个项目格式为“username.github.com”
配置本地hexo-blog 部署
执行hexo g + hexo d 就完成了部署, 这样在浏览器中访问username.github.com即可看到你的博客了,简单轻松完成!如果舍得花钱,可以买个域名,本人在万维网上买的,域名便宜。
- 配置域名
$ cd blog
$ vim source/CNAME
saboloh.com
也许你还会发现少了点什么 —— 评论!!!
我使用的是disqus 在disqus上创建账户,将shortname配置到_config.yml
#disqus
disqus_shortname: saboloh
基本搭建完成,如果需要额外的功能,可以在hexo 上研究研究
如果在搭建过程中遇到问题,可以评论留言或email给我,大家可以一起探讨